Future Funk – illustration & animation process
Here’s a walkthrough of how I made this animated teaser video, from back in January. It was done in collaboration with kema:
This isn’t a tutorial, but more just my process through each step.
Concept
This was made to promote the keycap set GMK Future Funk, which is inspired by the music genre. The artwork colour palette was based on the keyset’s palette, and kema had music picked out to accompany it.
Sketches
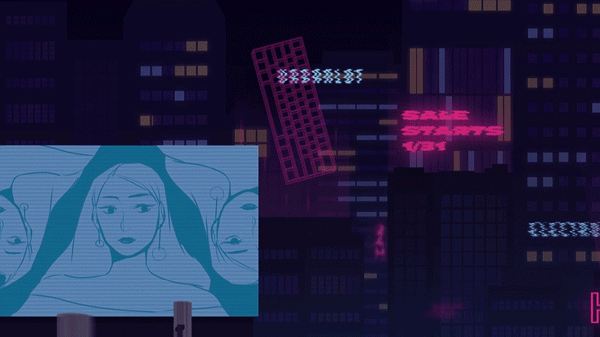
This began as various sketches to see what composition worked. We had the idea of an exterior scene outside of a club and an interior scene of someone across the street, looking out from their room. I tried different compositions in a sketchbook:


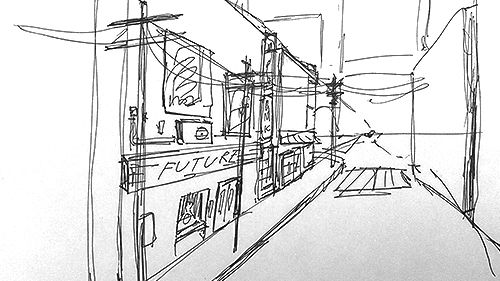
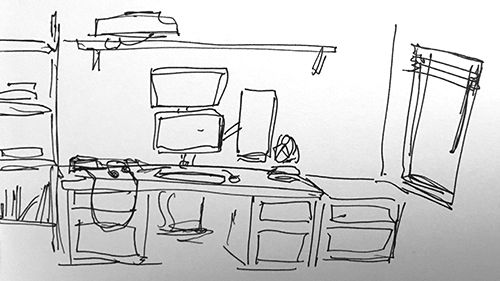
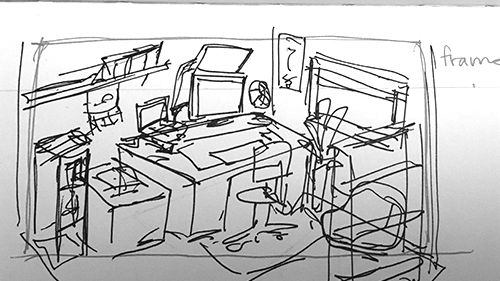
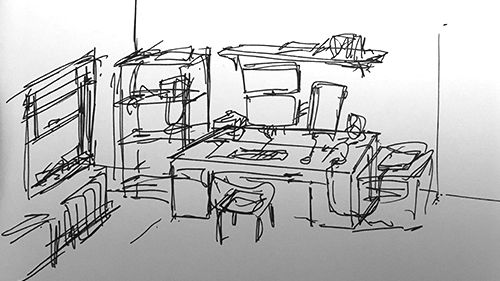
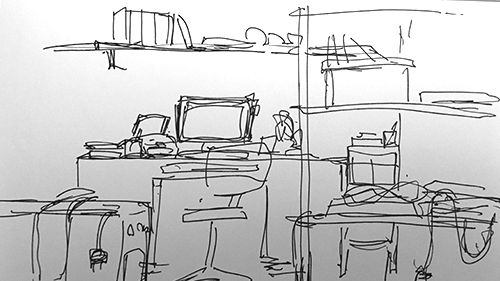
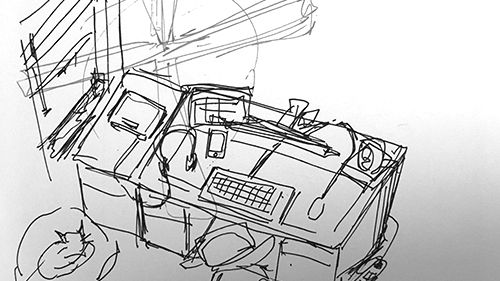
We settled on that first front-view exterior and the last top-down interior view.
Drawing & Animation
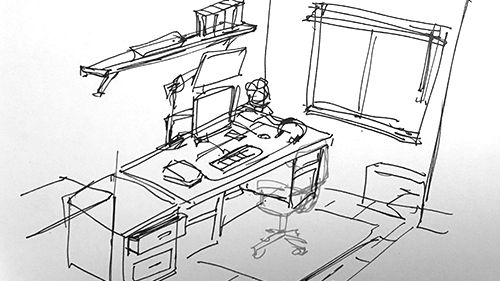
I drew these in Clip Studio Paint, which has an incredible perspective drawing tool that was invaluable to the whole process of drawing backgrounds—my lines would automatically snap to the grid, so it let me draw without thinking too much about it. I refined the sketches in CSP:
I animated these in Photoshop, using a mix of both timeline animation and frame by frame animation.
- Timeline: I get an object to do something like move or rotate in x seconds; e.g. I want a fan to rotate 360 degrees every 3 seconds. This is most of the animations, as they’re simple.
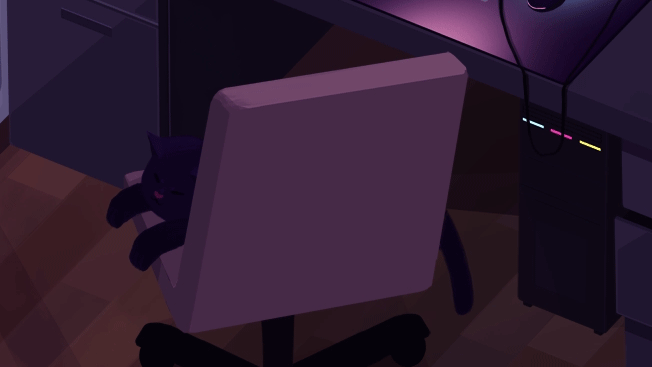
- Frame by frame: I manually create each frame and loop that; e.g. every frame of the cat tail wagging is manually drawn. I used this for objects that couldn’t be animated using transform tools.
Each element that moves is a smart object in the main canvas.
Note: I do not recommend using Photoshop for animating anything that isn’t simple. Unfortunately, I didn’t (and still don’t) know how to use After Effects (a much better fit for the task) so I made do with PS, but I really don’t recommend it. It might have been faster and certainly would have been less frustrating if I had spent a bit of time learning AE basics ¯\_(ツ)_/¯
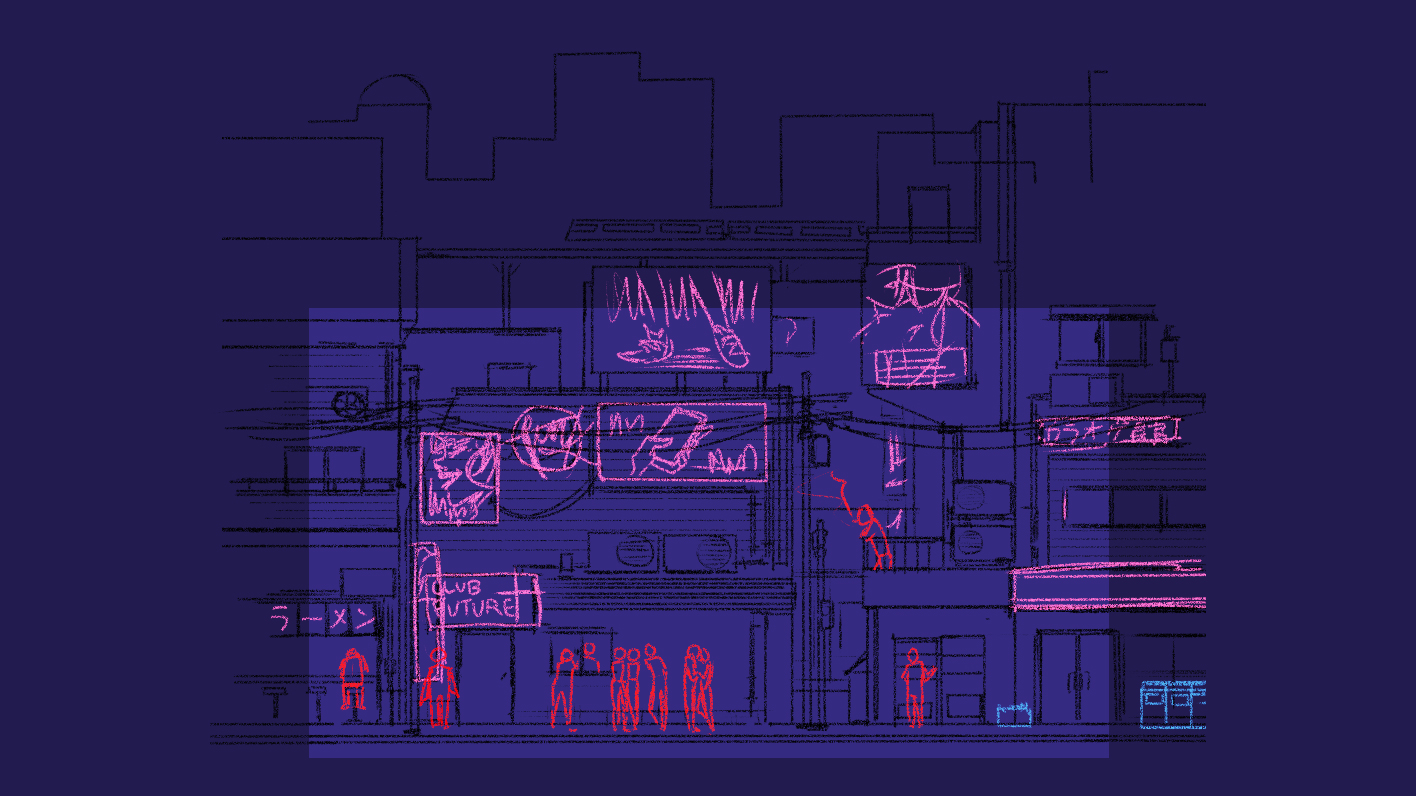
The exterior scene
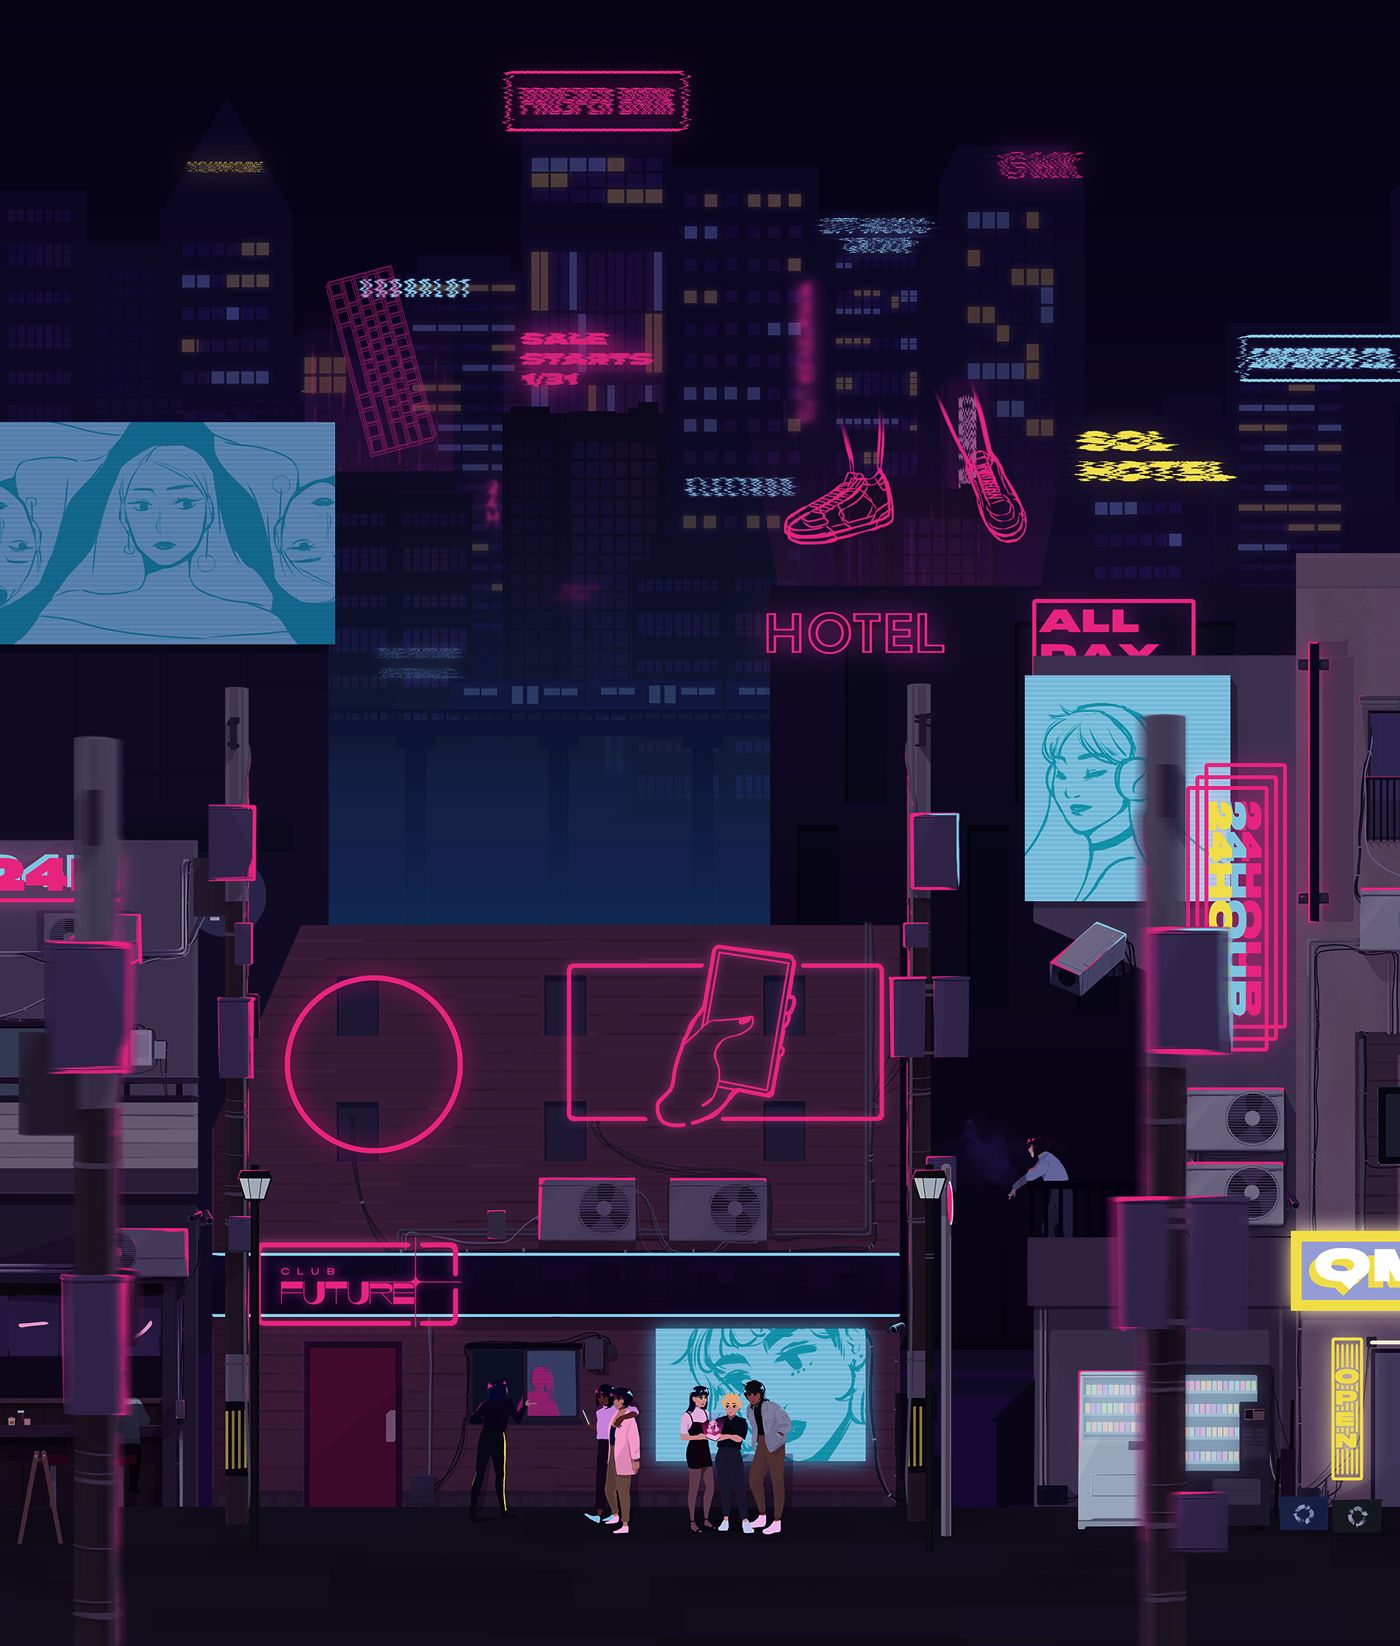
There are two things going on here: the individually moving parts (e.g. fans rotating), and the camera panning down.
For the camera panning, I wanted the foreground, midground, and background to move at different speeds, to simulate depth: the background moves the slowest, and the foreground moves the fastest. This required setting them as separate objects so that they could move independently.
There are a lot of individually moving elements:
- The blue sign’s static effect is a frame animation, where the static frames toggle on/off
- The train is a timeline animation, where the train object moves from right to left
- The keyboard in the background is floating, but very subtly (timeline animation, it translates up and down slowly)
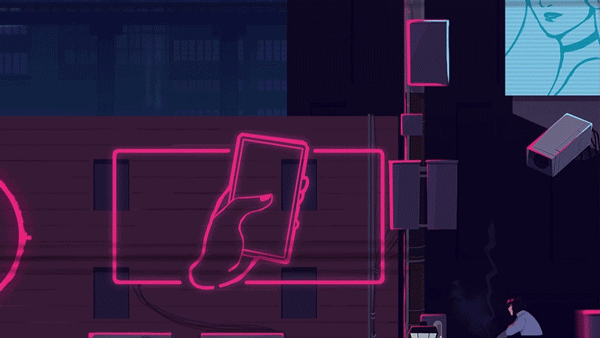
- The thumb swiping is a few manually drawn frames
- The rotating fans are a timeline animation where each fan rotates 360 degrees in x seconds
- The smoke is animated by kema in AE
The circular neon sign is animated by kema and timed to match the music. He also created the Club Future logo.
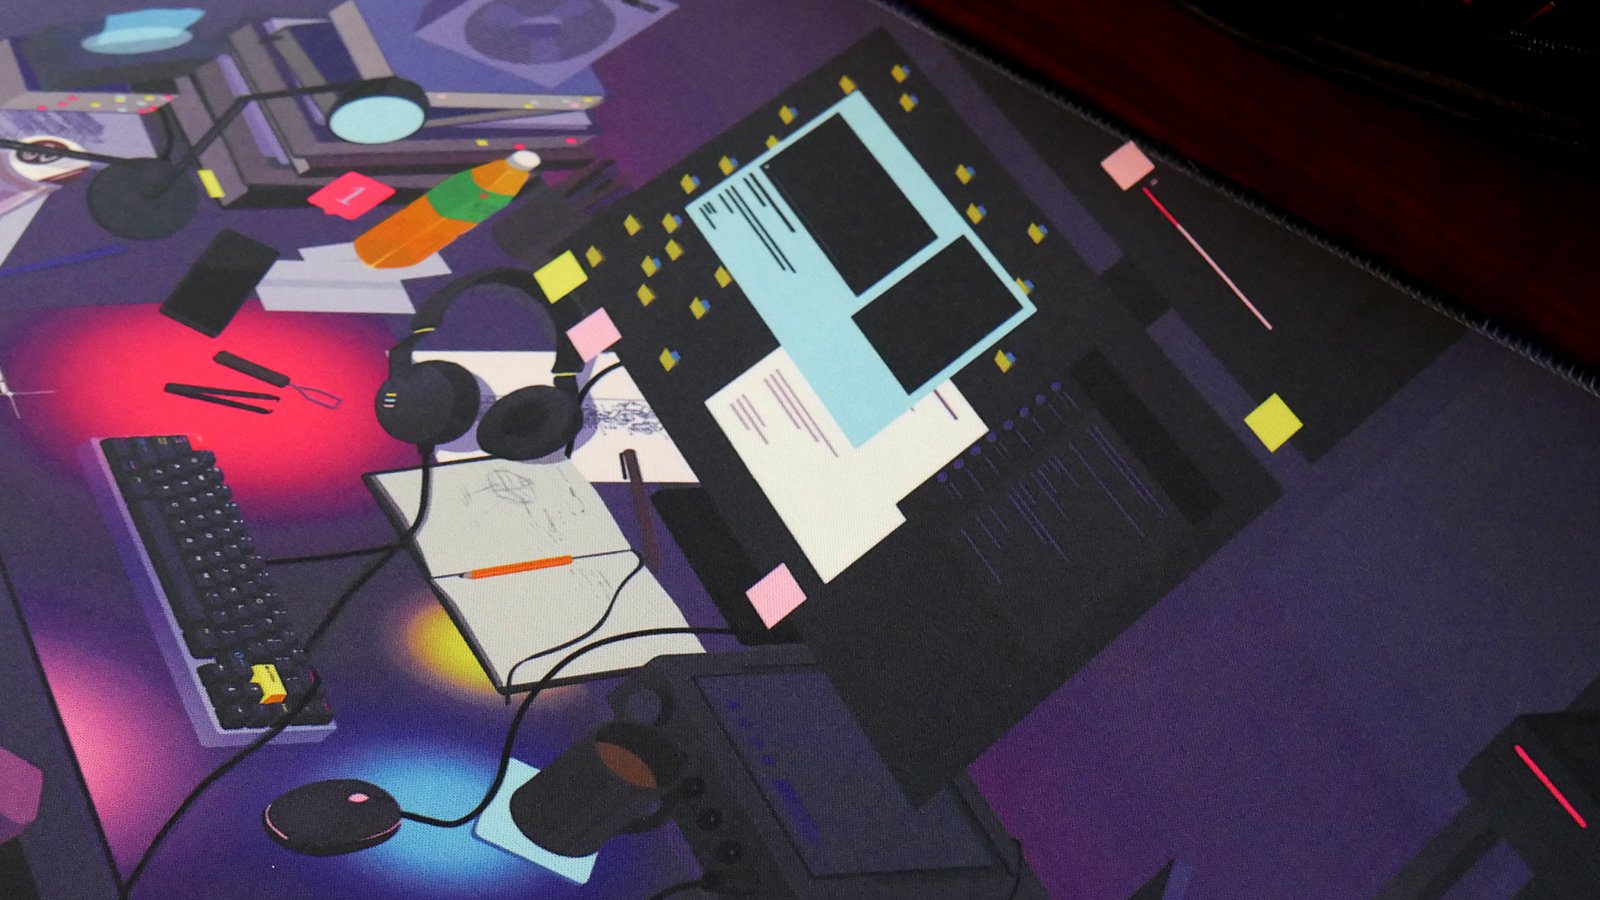
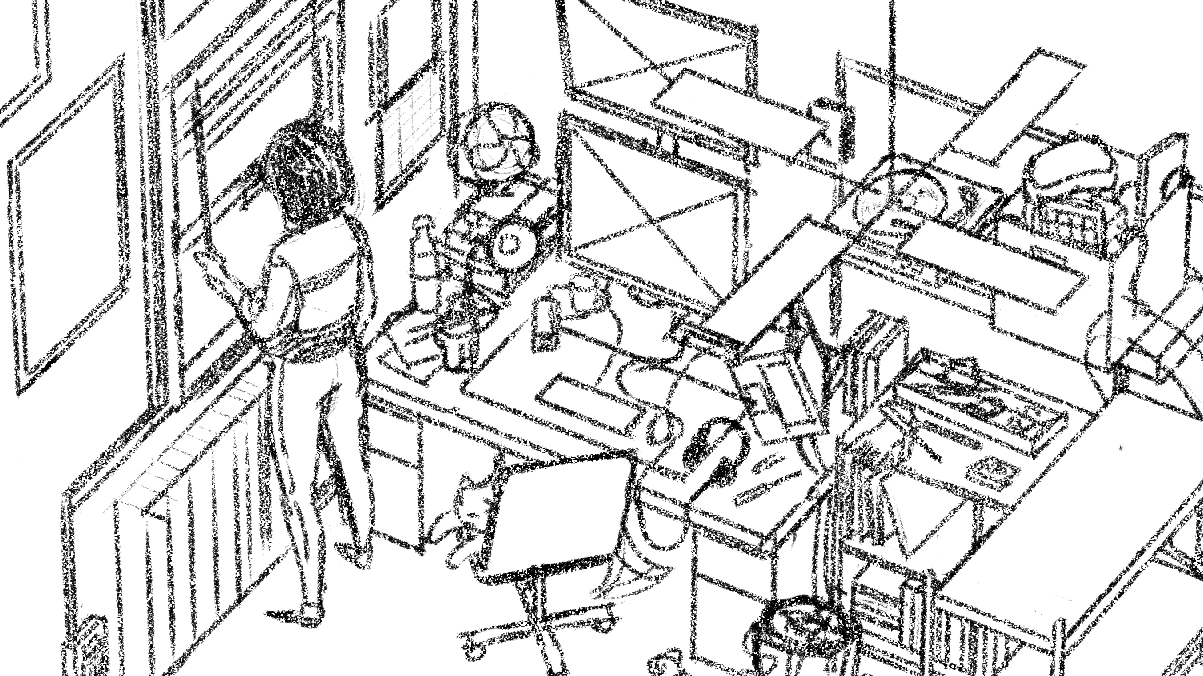
The interior scene
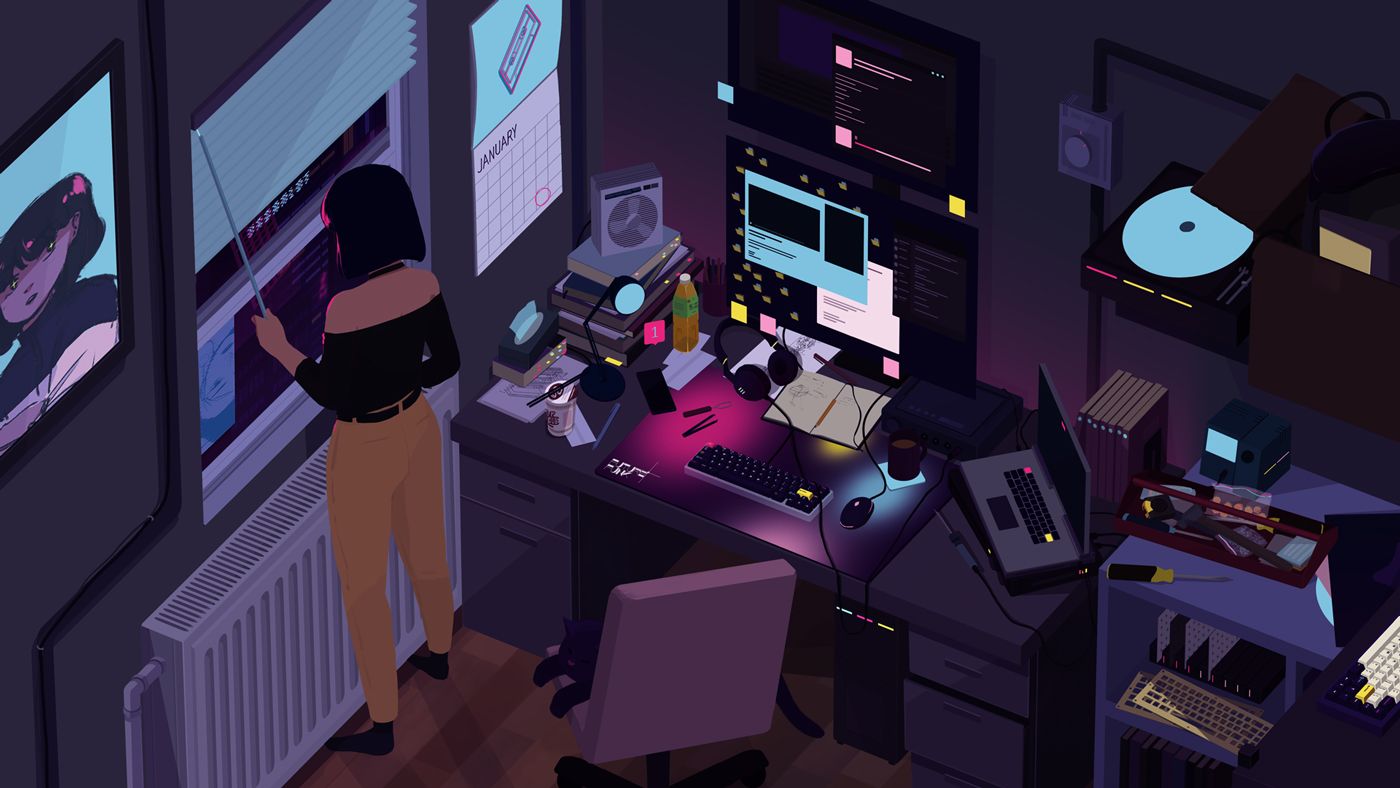
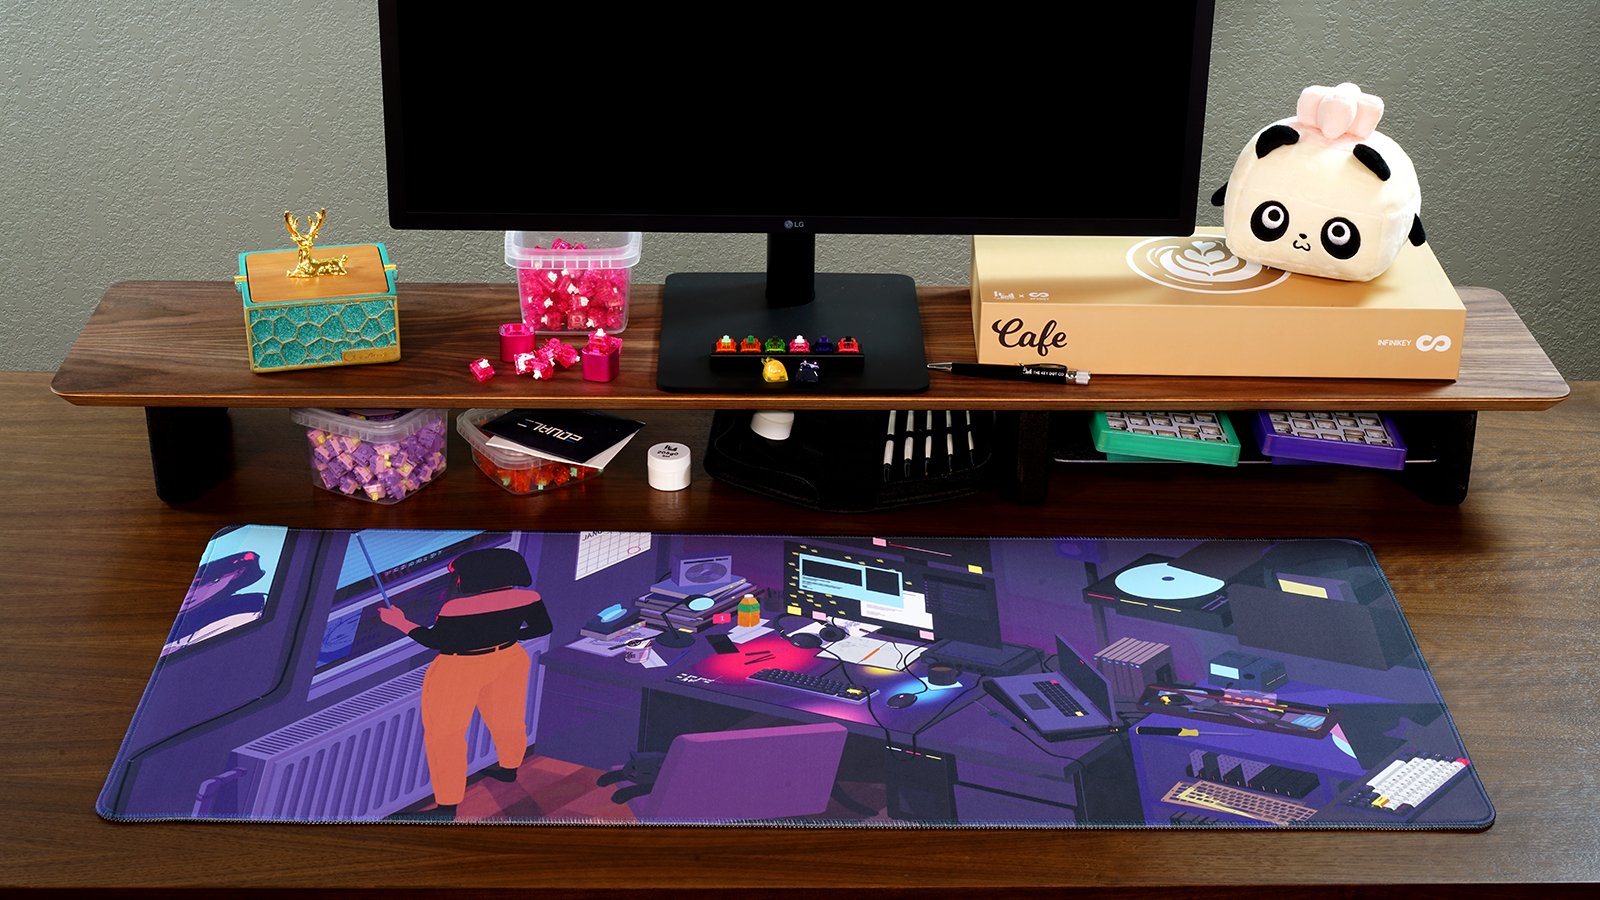
This scene was a lot more straight-forward since there’s no camera movement. The vibe here is more of infinitely looping animations, like in lo-fi music videos.
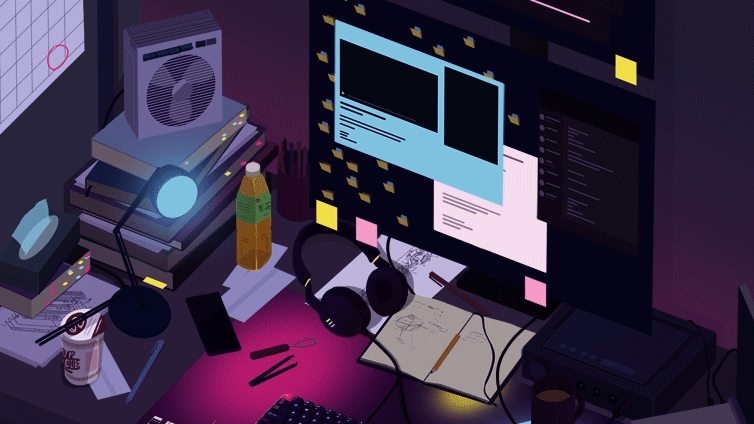
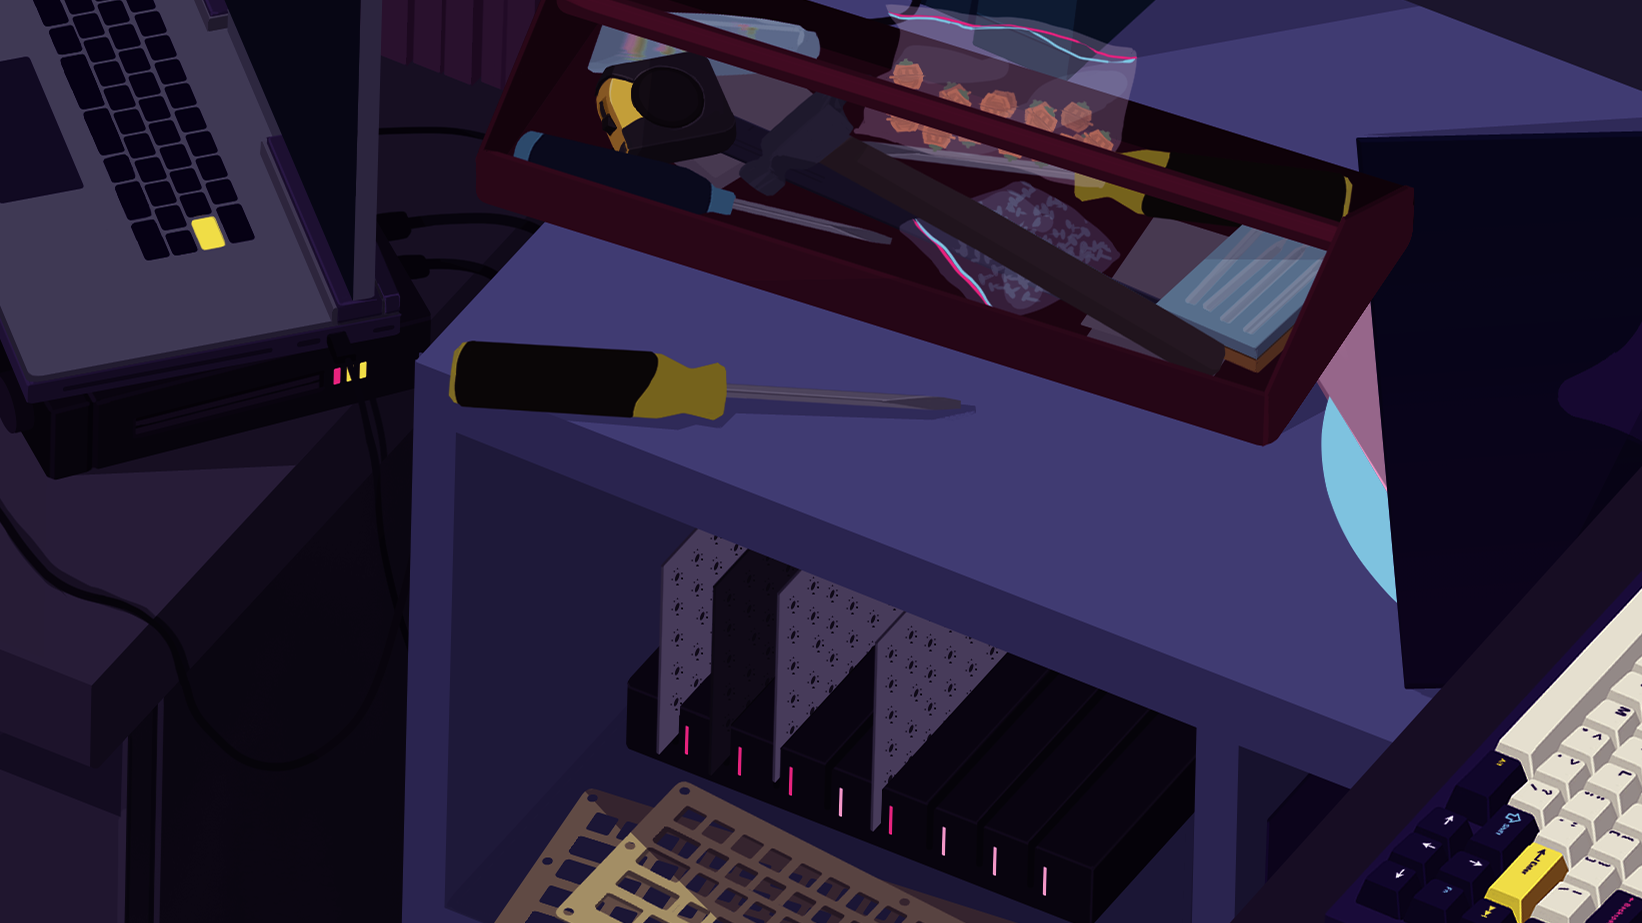
There are a few moving things here—the rotating fan, the phone notification, and the scrolling chat window on the monitor. I also tried to put fun keyboard-related details on the desk. There are a couple of keyboard diagrams, a switch puller and keycap puller, and the deskmat is kema’s actual deskmat he designed for this set.
The calendar has the date at the end of the month circled, which refers to the keyset’s January 31st sale date.
Final video
kema put the video together with the music by ミカヅキBIGWAVE, and designed the title card. We yeeted it onto YouTube.
Thoughts
- I drew the interior scene after the exterior scene, and I think it’s technically better because of it.
- I got lost in the details that wouldn’t matter in the final product—this focus kept me from pulling everything together in a more cohesive way. I think this was my biggest flaw in this project.
- I never got into animation because of the repetitive and meticulous nature of it, but I did enjoy creating a scene with a mood this kind of lo-fi style looping animation.
- Animating this in Photoshop was a bad idea. Exporting things took a long time and I was constantly afraid that it would crash. Don’t be like me.
Buy my art ✨
I turned the interior scene into a deskmat! It’s called Future Space and is a 900mm x 400mm deskmat that serves as a lovely frame for your keyboard and mouse. You can buy it on TheKey.Company →